Computing shaders
Computing Shaders
Today I started with WebGPU Fundamentals again, going further to Computing shaders.
The first thing that is different from yesterdays fragment and vertex shaders is that we need storage variable:
@group(0) @binding(0) var<storage, read_write> data: array<f32>;
The thing that still confuses me a bit is locations in WGSL shaders: “We tell it we’re going to specify this array on binding location 0 (the binding(0)) in bindGroup 0 (the @group(0)).”
Things get more interesting when we need to create separate buffers to store the data in and to read the data from:
  //data for compute shader
  const input = new Float32Array([1, 3, 5]);

  //For WebGPU to use it, we need to make a buffer that exists on the GPU and copy the data to the buffer.

  // create a buffer on the GPU to hold our computation
  // input and output
  const workBuffer = device.createBuffer({
    label: 'work buffer',
    size: input.byteLength,
    usage: GPUBufferUsage.STORAGE | GPUBufferUsage.COPY_SRC | GPUBufferUsage.COPY_DST,
  });
  // Copy our input data to that buffer
  device.queue.writeBuffer(workBuffer, 0, input);

  // create a buffer on the GPU to get a copy of the results
  const resultBuffer = device.createBuffer({
    label: 'result buffer',
    size: input.byteLength,
    usage: GPUBufferUsage.MAP_READ | GPUBufferUsage.COPY_DST
  });

  // Setup a bindGroup to tell the shader which
  // buffer to use for the computation
  const bindGroup = device.createBindGroup({
    label: 'bindGroup for work buffer',
    layout: pipeline.getBindGroupLayout(0),
    entries: [
      { binding: 0, resource: { buffer: workBuffer } },
    ],
  });
WebGPU Inter-stage Variables
Moving on to WebGPU Inter-stage Variables, in next chapter I learned how to pass structures (of which I think kind of like js classes) between 2 shaders:
struct OurVertexShaderOutput {
@builtin(position) position: vec4f,
@location(0) color: vec4f,
};
@vertex fn vs(
@builtin(vertex_index) vertexIndex : u32
) -> OurVertexShaderOutput {
let pos = array(
vec2f( 0.0, 0.5), // top center
vec2f(-0.5, -0.5), // bottom left
vec2f( 0.5, -0.5) // bottom right
);
let color = array(
vec4f(1, 0, 0, 1), // red
vec4f(0, 1, 0, 1), // green
vec4f(0, 0, 1, 1), // blue
);
var vsOutput: OurVertexShaderOutput;
vsOutput.position = vec4f(pos[vertexIndex], 0.0, 1.0);
vsOutput.color = color[vertexIndex];
return vsOutput;
}
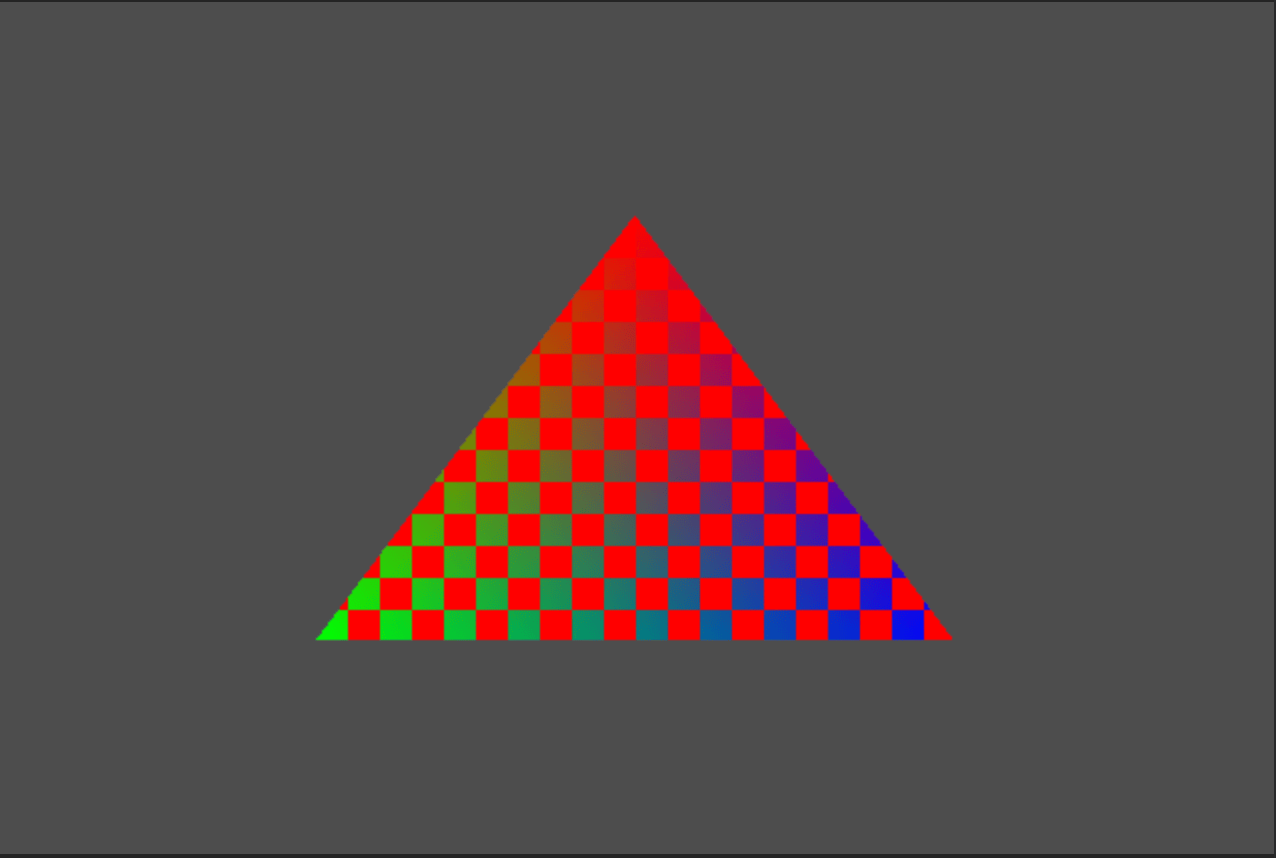
@fragment fn fs(fsInput: OurVertexShaderOutput) -> @location(0) vec4f {
let red = vec4f(1, 0, 0, 1);
let colored = fsInput.color;
let grid = vec2u(fsInput.position.xy) / 16;
let checker = (grid.x + grid.y) % 2 == 1;
return select(red, colored, checker);
}
Here I combined 2 examples to both pass color from vertex shader to frag shader, and to add condition to use the passed color or red in frag shader.
This is the outcome:
Uniforms
Uniforms look just like in GLSL with some differences: to create a Uniform, first we need to descripe its’ “class” aka struct:
    struct OurStruct {
        color: vec4f,
        scale: vec2f,
        offset: vec2f,
      };
Then, we need to declare a uniform with type of our struct:
@group(0) @binding(0) var<uniform> ourStruct: OurStruct;
and after this we can use uniforms in our shader code. To be able to se the from Javascript, we also need to create a buffer first, and to calculate it’s size:
const uniformBufferSize =
    4 * 4 + // color is 4 32bit floats (4bytes each)
    2 * 4 + // scale is 2 32bit floats (4bytes each)
    2 * 4;  // offset is 2 32bit floats (4bytes each)
  const uniformBuffer = device.createBuffer({
    label: 'uniforms for triangle',
    size: uniformBufferSize,
    usage: GPUBufferUsage.UNIFORM | GPUBufferUsage.COPY_DST,
  });
after playing with setting uniforms a bit, I got this beautiful rotating triangle: